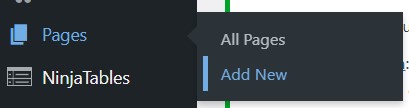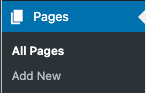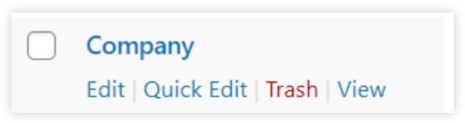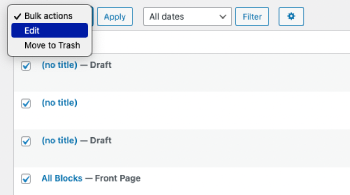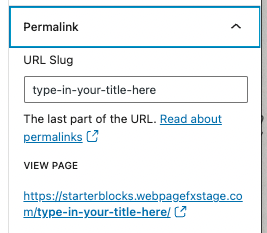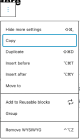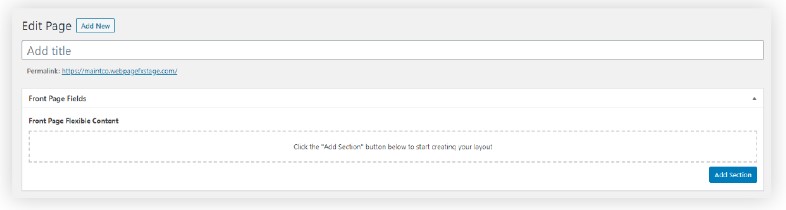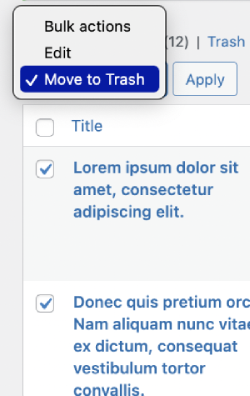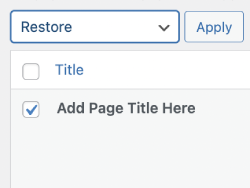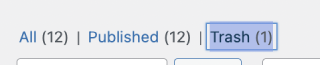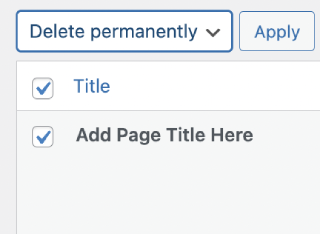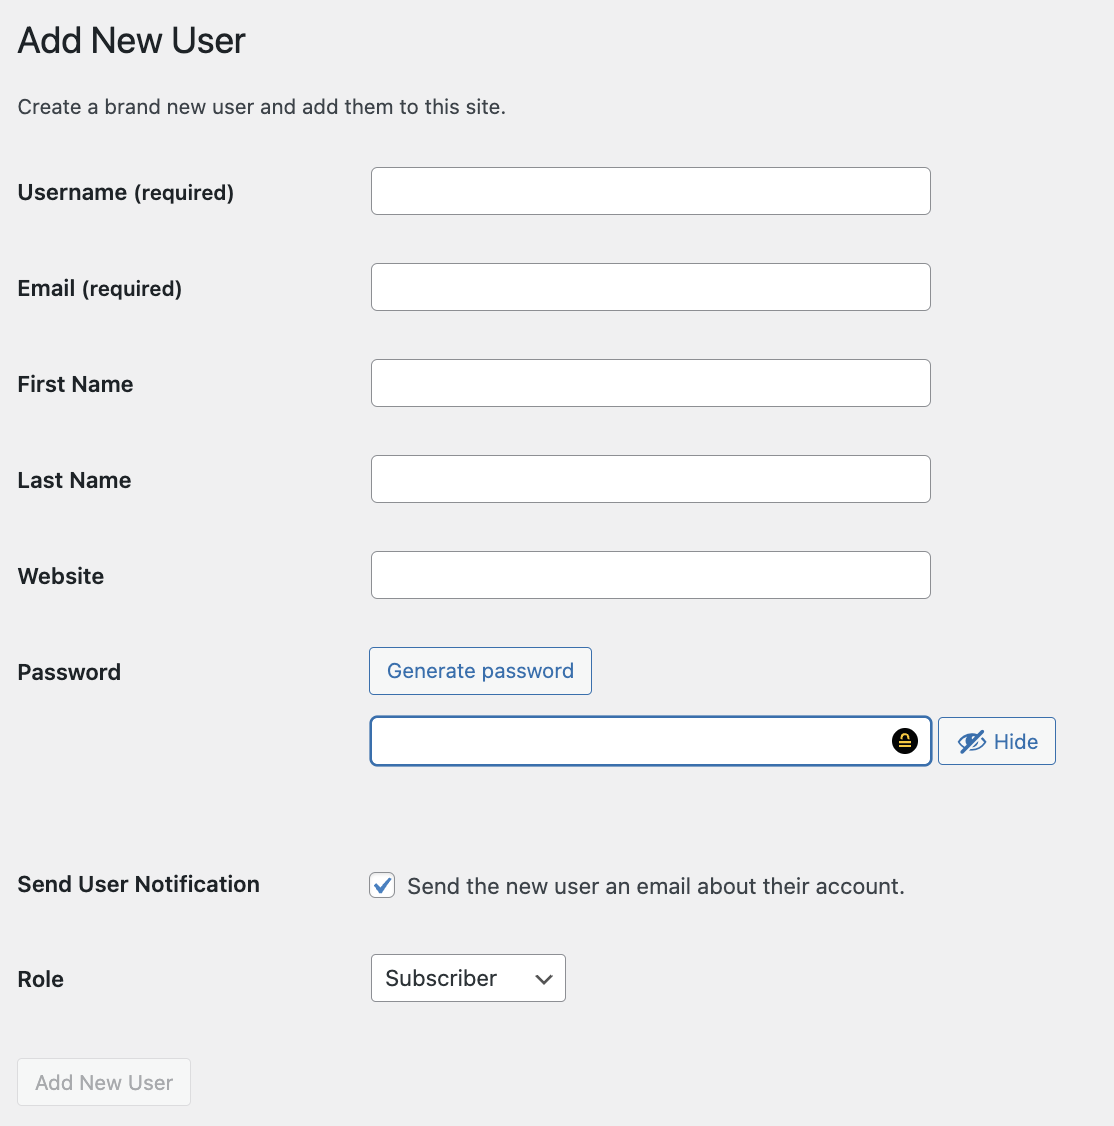
Create New Page From Existing Page
Editing The Homepage Slider
Adding Locations
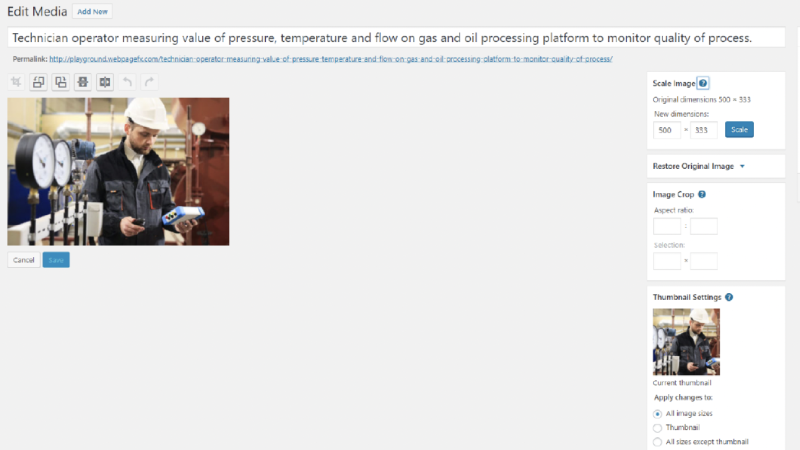
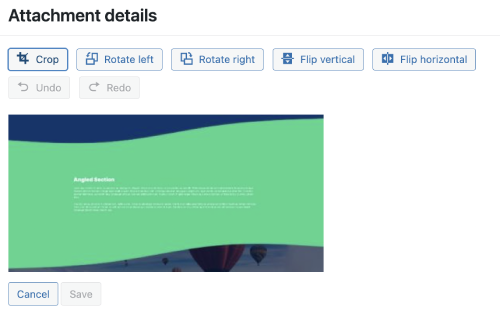
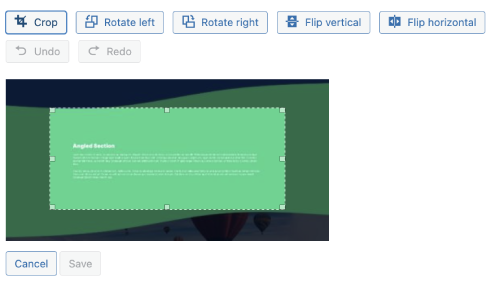
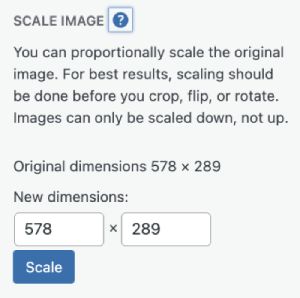
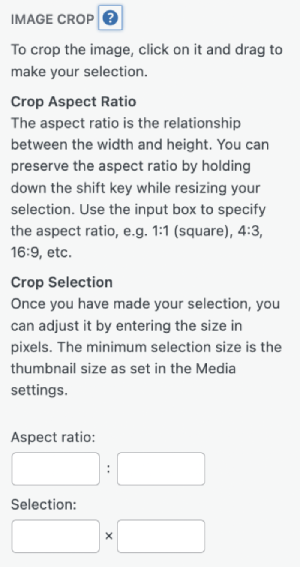
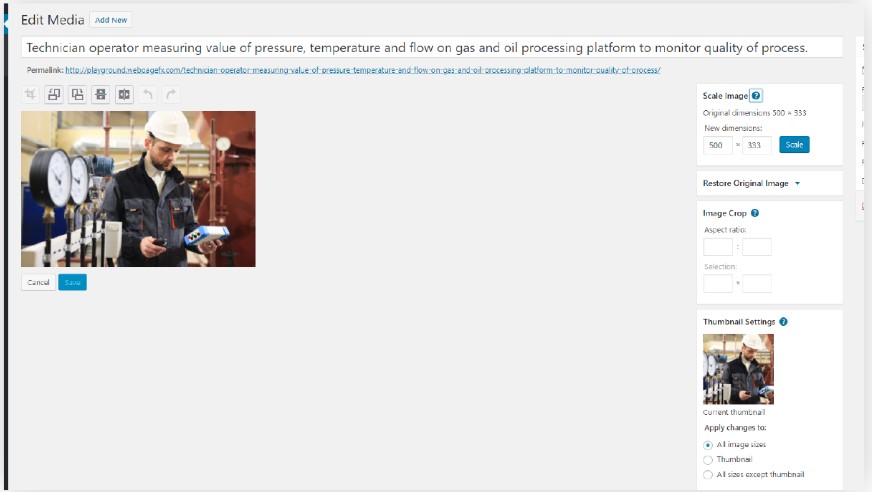
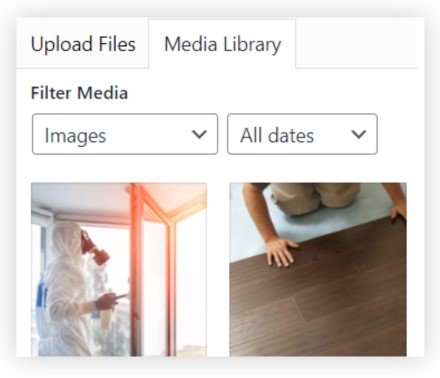
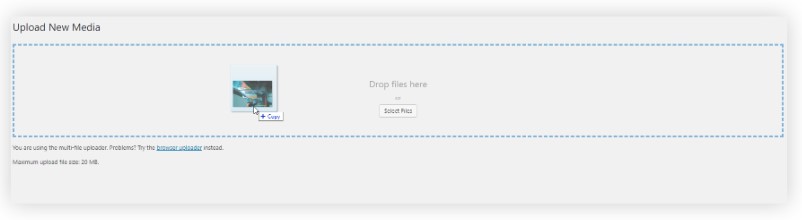
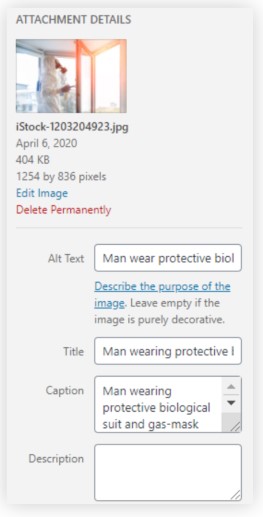
Updating Galleries
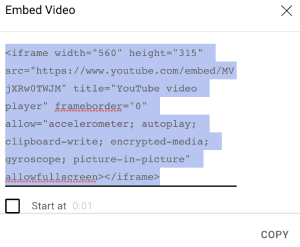
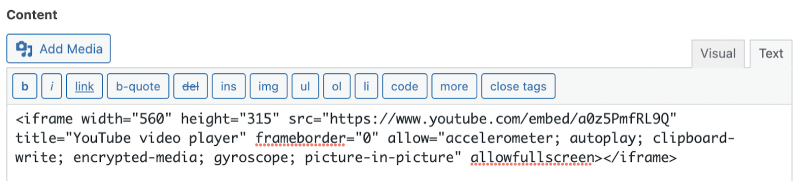
Adding Video Galleries
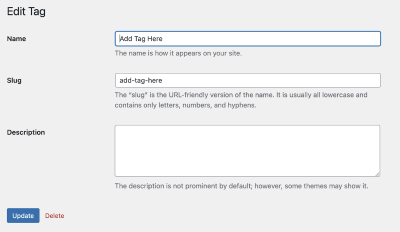
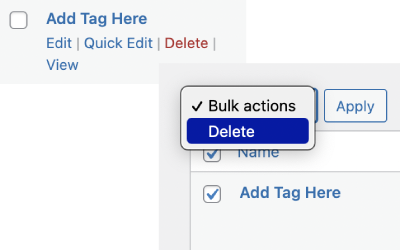
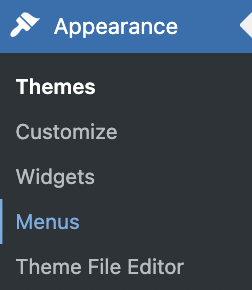
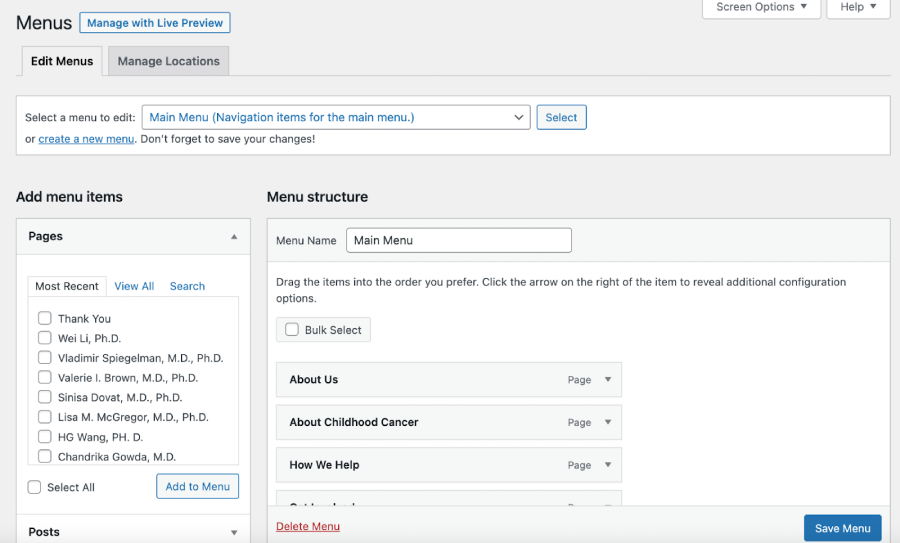
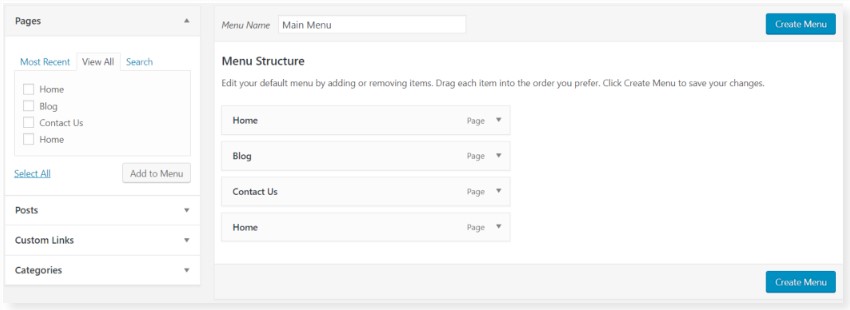
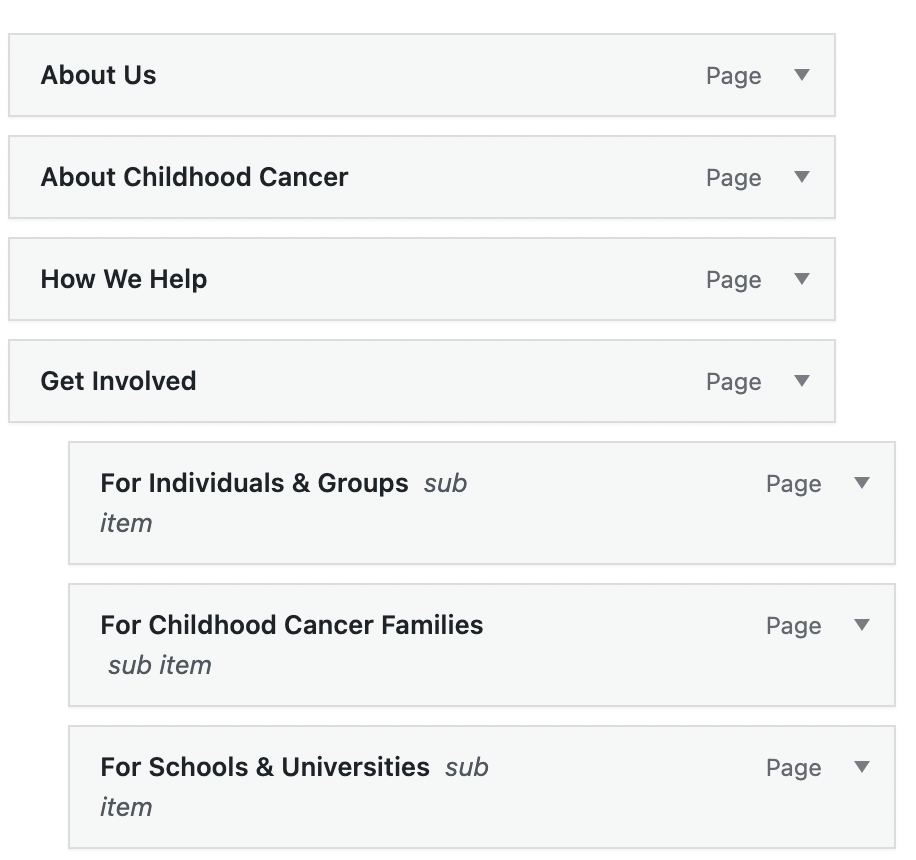
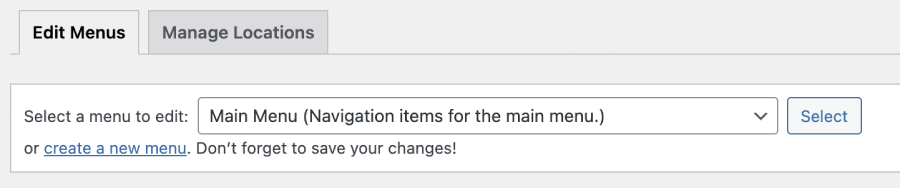
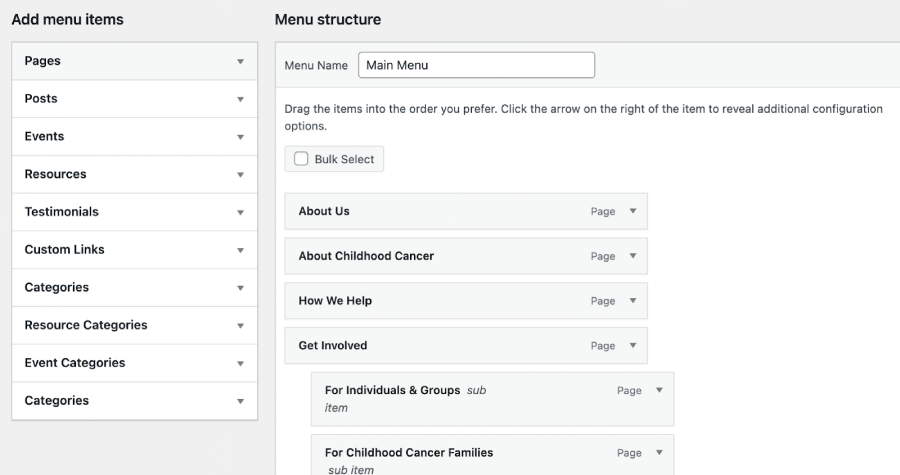
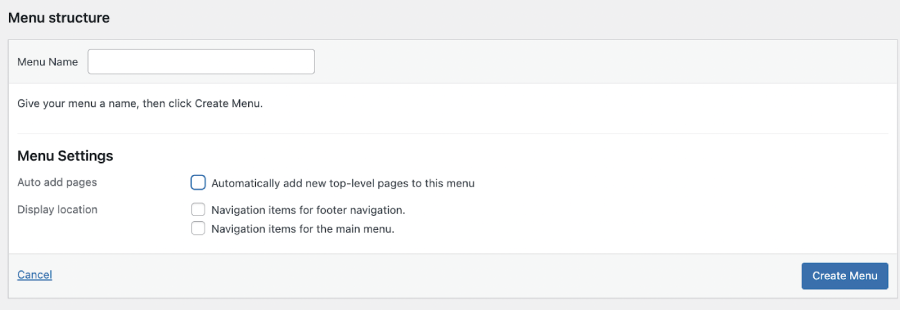
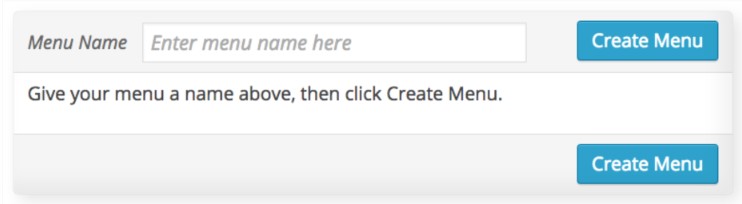
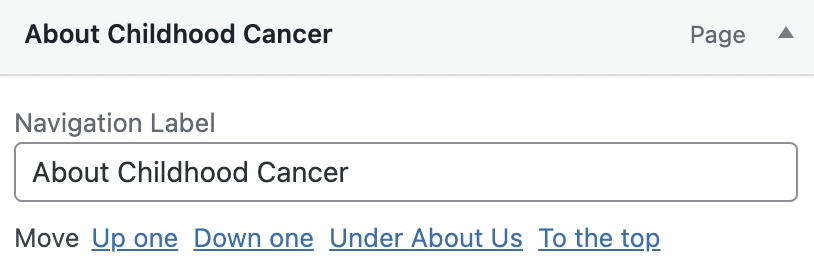
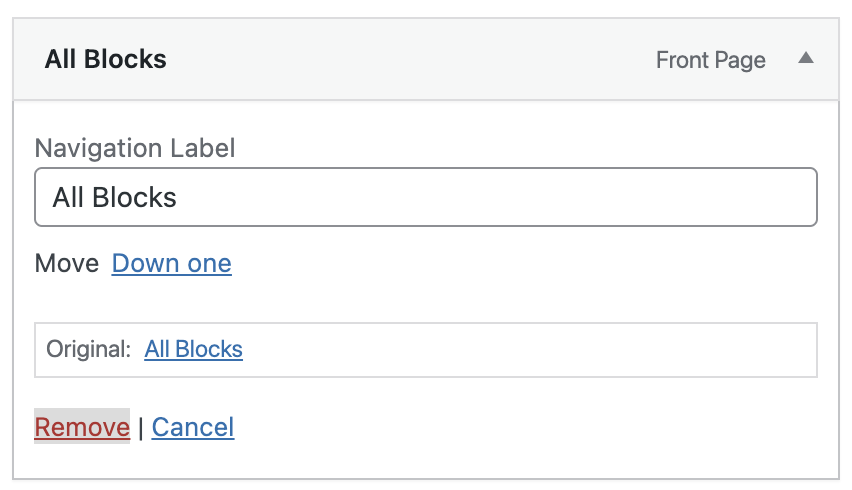
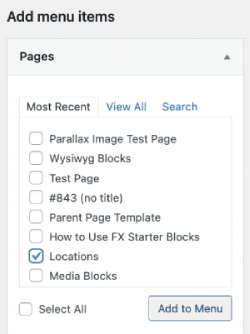
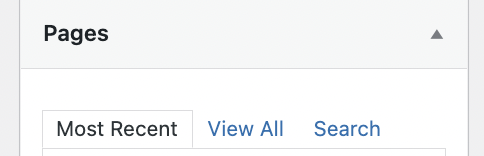
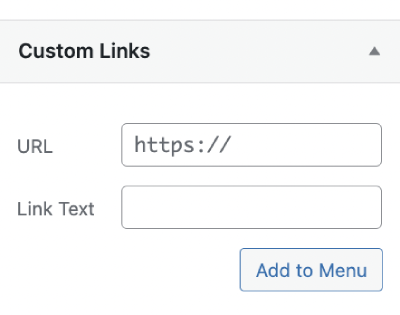
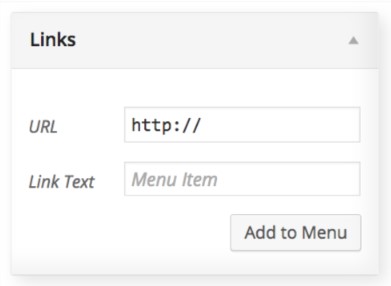
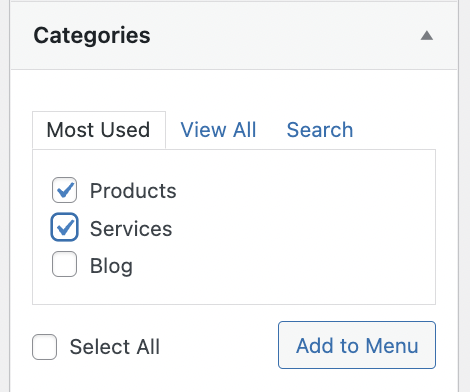
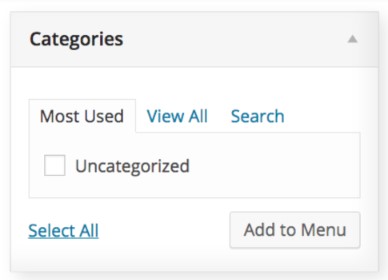
Editing The WordPress Menu
Editing The Notification Bar
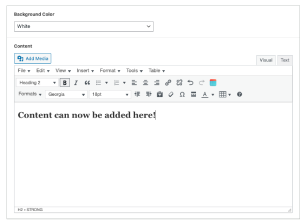
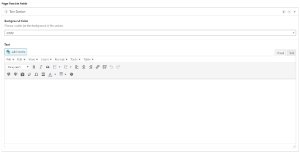
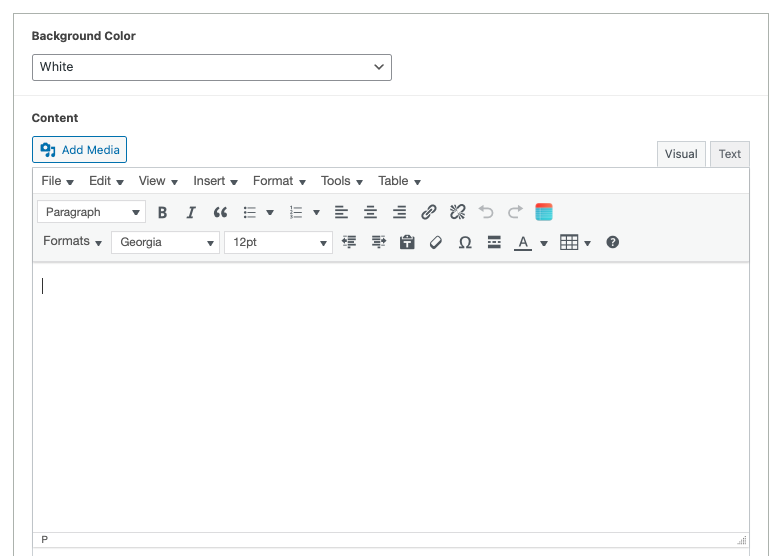
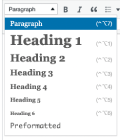
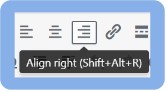
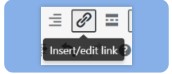
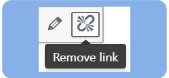
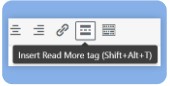
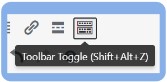
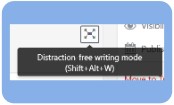
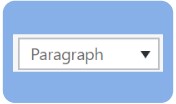
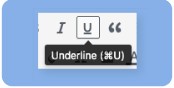
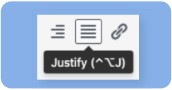
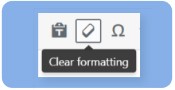
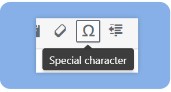
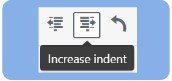
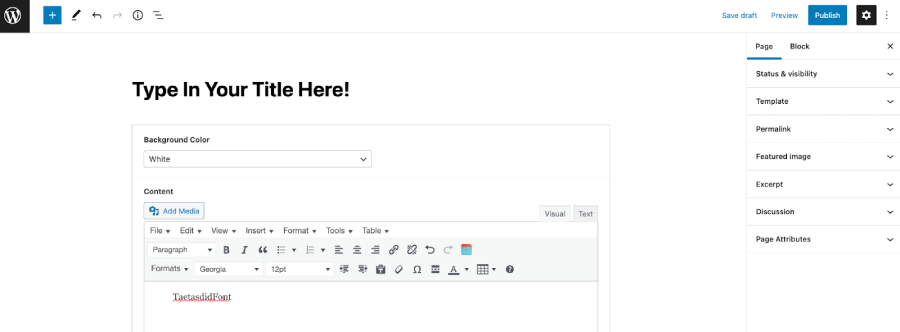
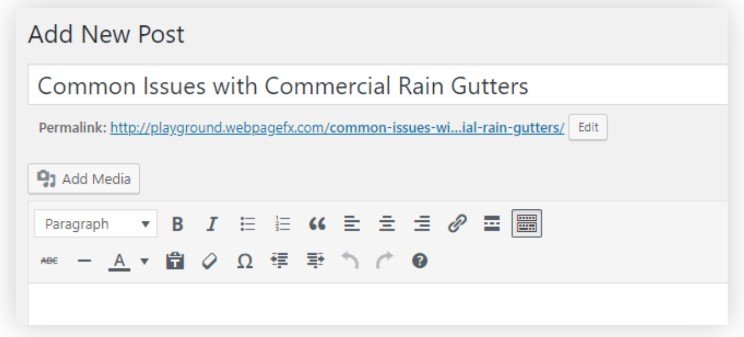
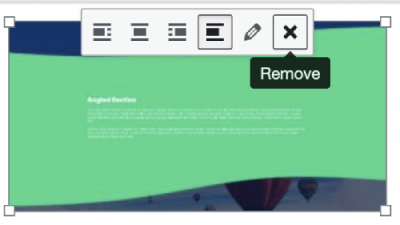
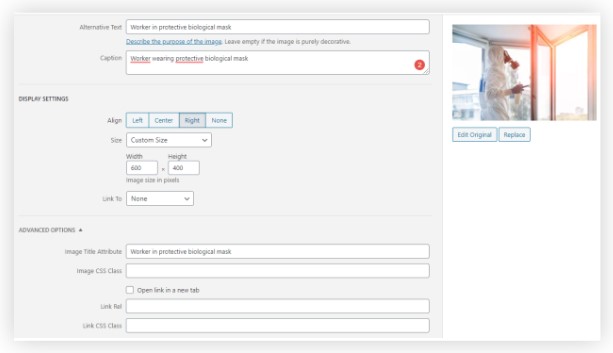
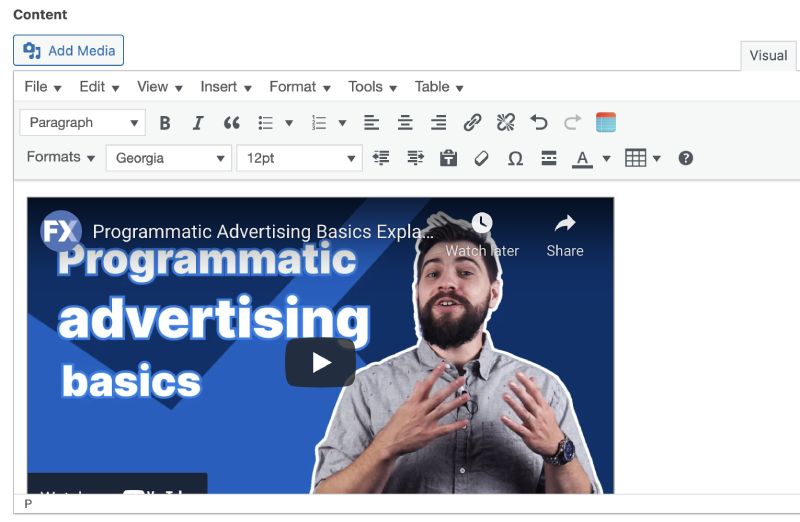
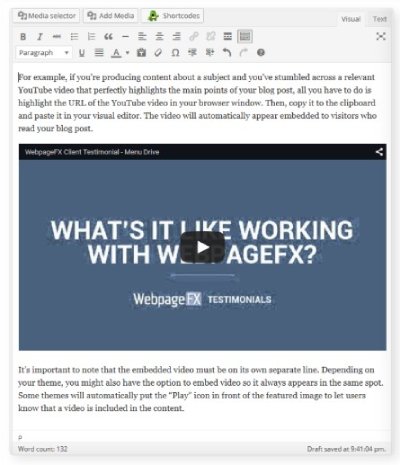
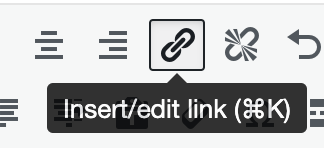
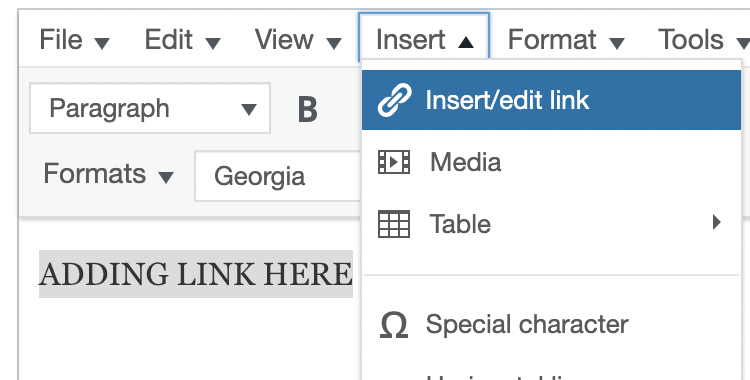
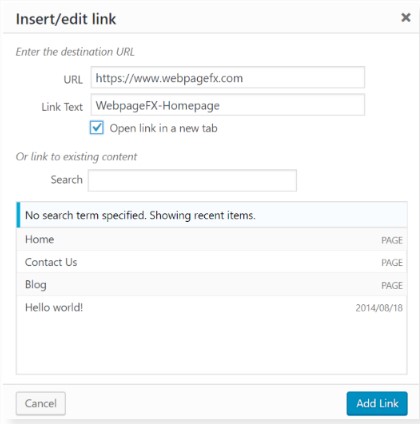
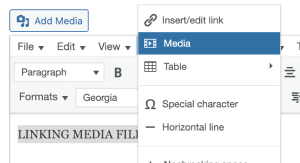
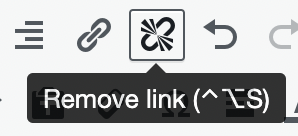
The WYSIWYG Editor
Adding Feature Reps
Editing Repeater Blocks
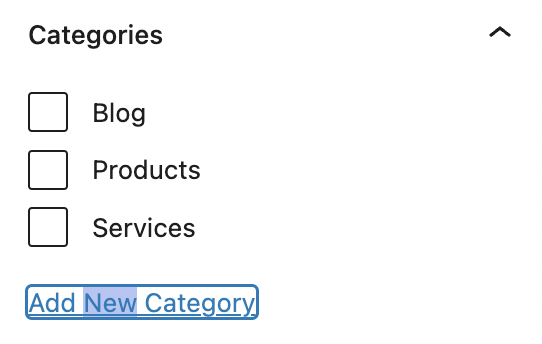
Changing Page Attributes
Adding Testimonials
Changing The Resource Library
Adding And Editing NinjaTables
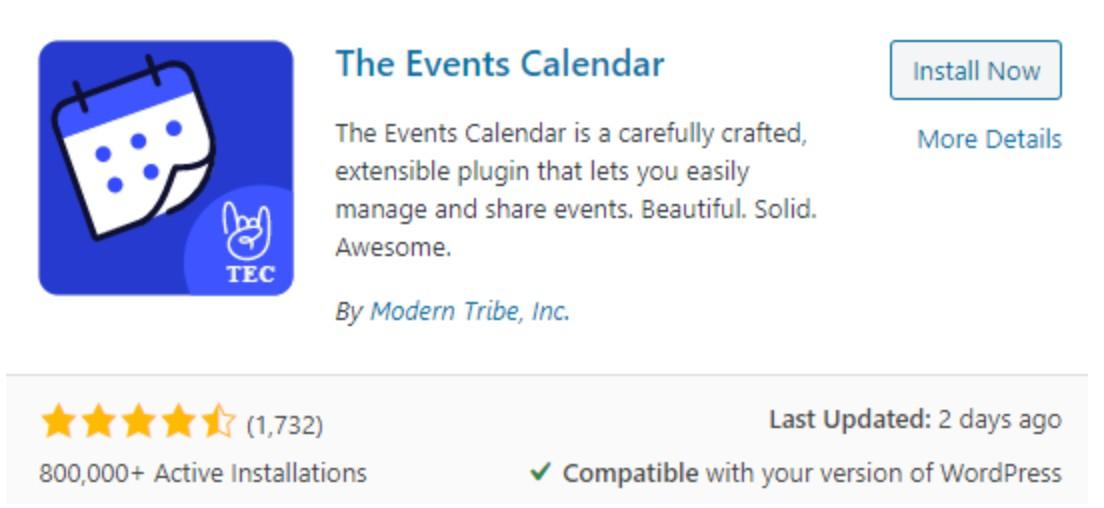
Adding New Calendar Events
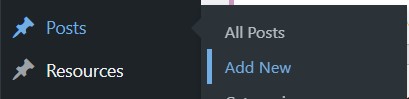
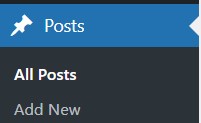
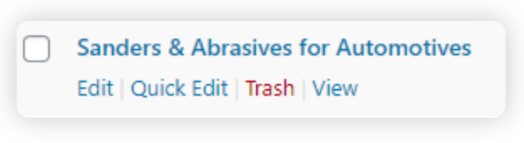
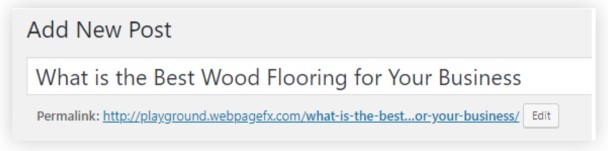
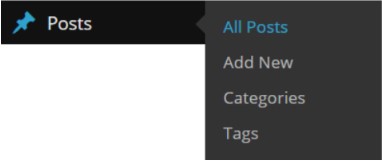
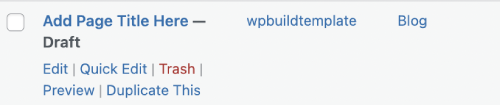
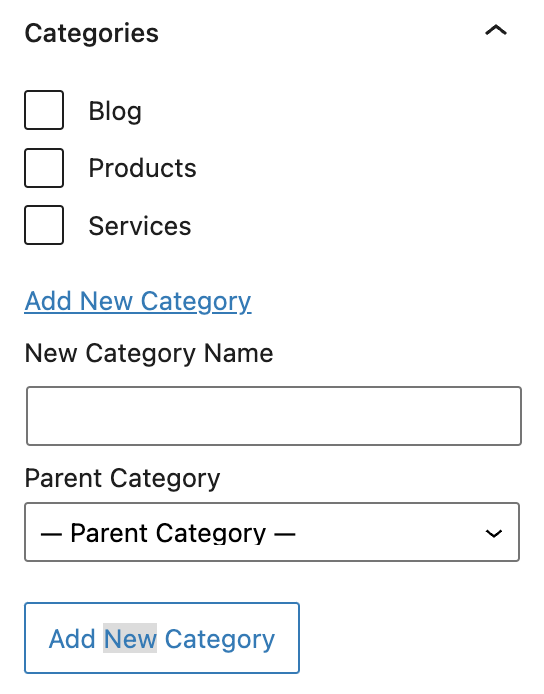
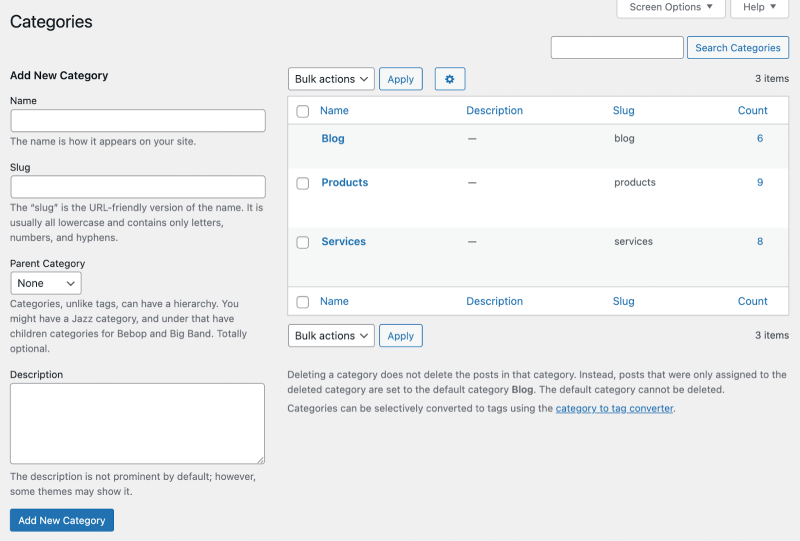
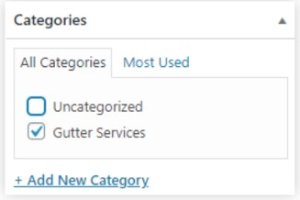
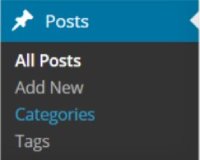
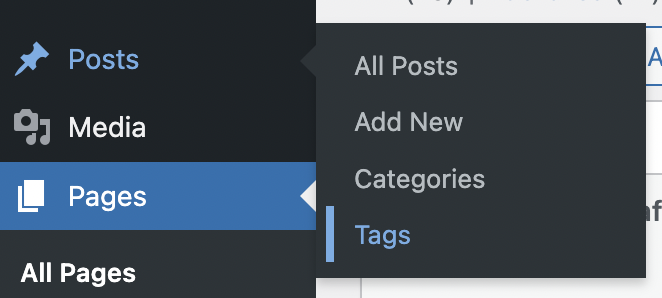
Adding Blog Posts
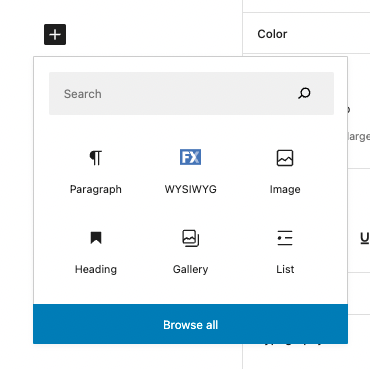
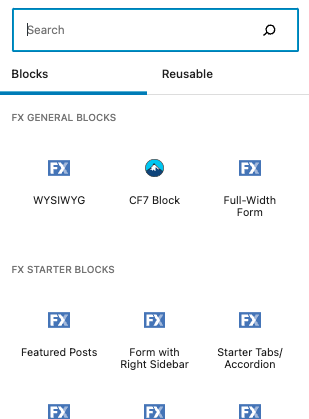
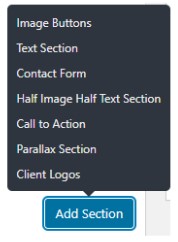
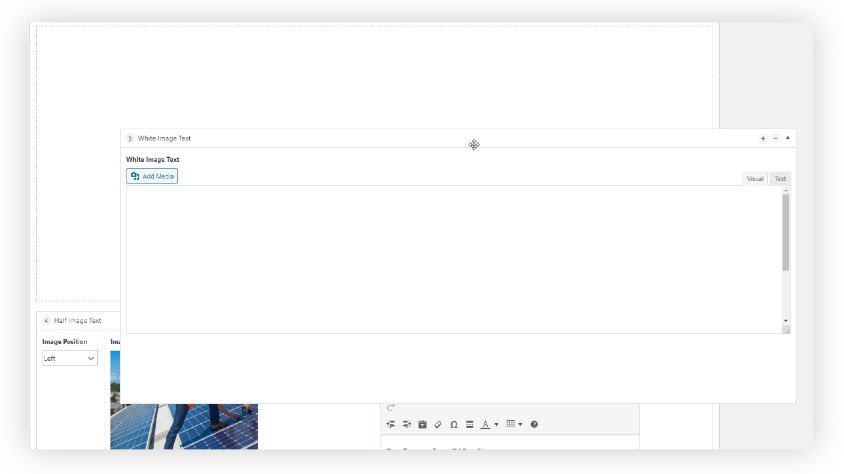
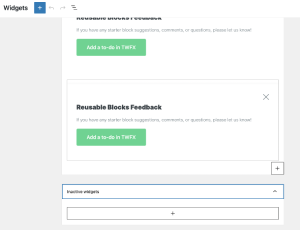
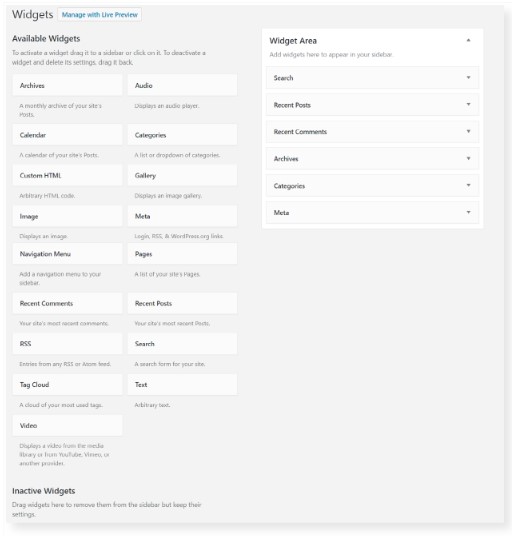
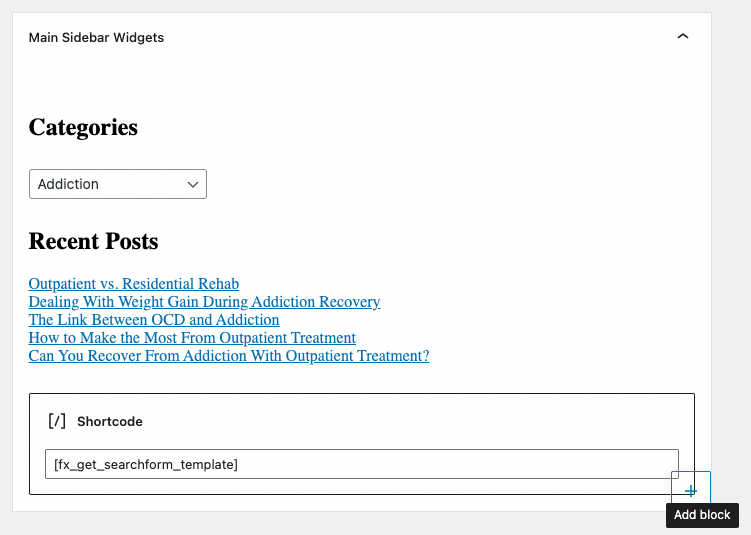
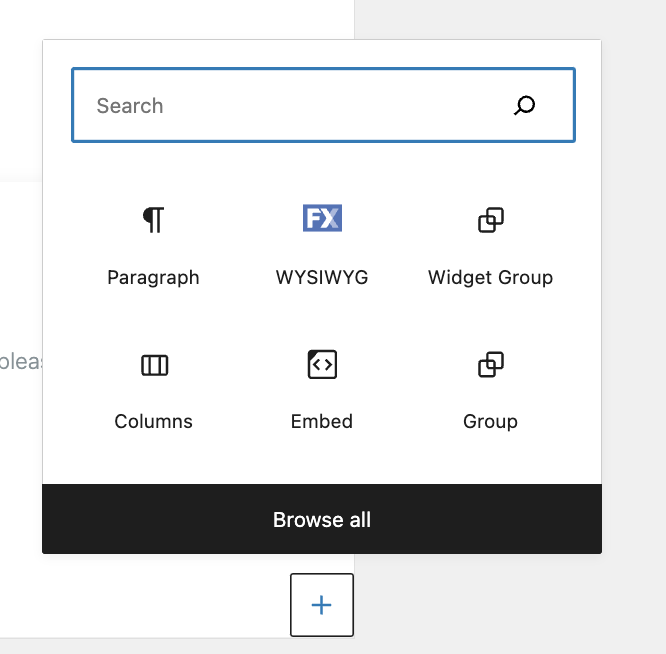
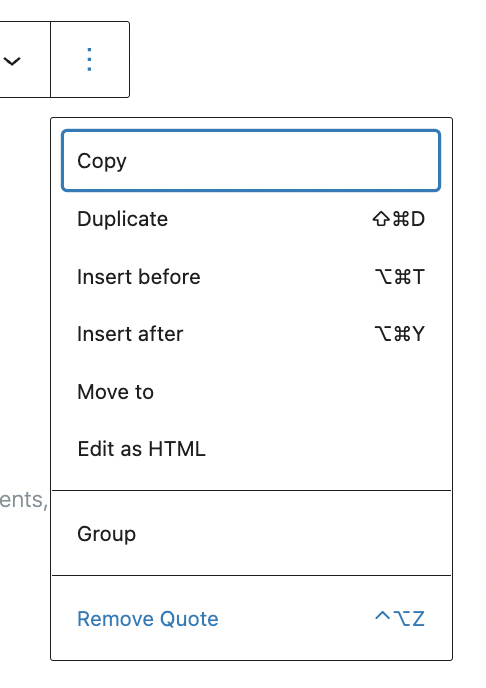
Adding Content Blocks
Editing the slideshow
Adding locations
Updating the gallery
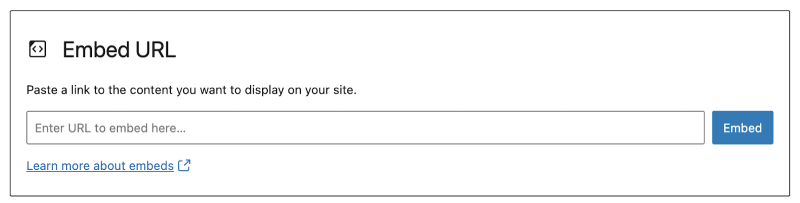
Adding a video gallery
Editing the WordPress Menu
Editing the Notification bar
Editing WYSIWYG Editor
Adding Team Members
Changing Page Attributes
Adding Testimonials
Changing The Resource Library
Adding And Editing TablePress
Adding New Calendar Events
Adding News or Events